February 8, 2014
Today's craft is inspired by the never-ending snow the East Coast has been getting and, of course, Valentine's Day. It's an adorable combo of winter and romance...Love's Snowflake :)
 |
These are super-easy to make and require only a few materials: paper, pencil, scissors, and glue.

How to Make It:
 |
| STEP 1: Cut out a paper circle at least 4 inches in diameter (the larger the circle, the easier to work with). |
 |
| STEP 2: Fold circle in half. |
 |
| STEP 3: Fold in half again. |
 |
| STEP 4: Fold in half again. |
 |
| STEP 5: Draw this template onto your triangle. Cut shaded areas with scissors. |
 |
| STEP 6: Unfold and voila! |
 |
| Glue to card stock or construction paper to make a card, attach to a gift bag, or string together a whole bunch for a pretty Valentine's Day garland. |
February 7, 2014
Just in time for Valentine's Day, this is a cute little craft that can be finished in no time and is perfect for gift-giving...
The Valentine Envelope:


This is a straight single crochet pattern so it is great for beginners. You basically crochet an 8-inch square, fold and sew it together, and finish the edges.
I found the free pattern on Lion Brand's website and used some spare yarn I had in the house. Red and white yarns are always handy to have because you can use them for Christmas and Valentine's Day :)


I think these envelopes are great for giving to a child with a little surprise in it- candy, toys, money, or an origami heart ;)
Very easy, very sweet! ENJOY!
February 5-6, 2014
Sorry there was no new posting yesterday but our house was without power for about 10 hours. I did, however, make a craft to share :) Some cute little mittens for my daughter:


You can find the pattern at Lion Brand's website. I used a different brand of yarn than Homespun but it worked just as nicely. I'm still trying to get the whole thumb thing down but it'll do for now :)
HAVE FUN!
February 4, 2014
In my search for quick and easy crafts, I stumbled across this little gem...it's both adorable and cheesy :) It's called the Soapy Apron. Yes, it's an apron for your dish soap (commence eye rolling)...I still love it!


This uses one of my favorite yarns- Lily Sugar n' Cream. The pattern can be found here. I took liberties with the color choices and used what I had in the house. My edging needs a little work but I think it looks pretty good.
 |
| Lovingly placed on my kitchen windowsill above the sink :) |
A Couple Side Notes:
1. I showed this to my husband today and he promptly asked me, "Um, did you mean to make that?"...implying, of course, that this was an unfortunate accident. Yes, I was really trying to crochet an afghan but wound up with this so I went with it *LOL*.
2. After seeing this craft, my husband asked me if I was becoming one of those people that makes "cozies" for everything in the house. No, I'm not that crazy!
HAVE FUN!
February 3, 2014
Well, it's another snow day in Pennsylvania! Much to our chagrin the snow that melted away yesterday has come back with a vengeance. Today's Craft O' The Day is great for snow days because it's quick and easy. It's a cute crocheted flower coaster that is a perfect accessory to your favorite warm beverage on a day like this.

Here's the pattern:
Flower Coaster By: Doni Speigle

Materials: (for one coaster): Worsted Weight Cotton Yarn: - 3 yards Yellow (center circle of flower) - 13 yards Flower Color Size G (4.25mm) Crochet Hook Yarn Needle
Stitches Used/Abbreviations: ch = chain sl st = slip stitch sc = single crochet dc = double crochet sk = skip beg = beginning
Finished Size: 4 ¼” across
Flower Coaster:
Round 1) with yellow, ch 2, 6 sc in 2nd ch from hook, do not join round (6 sc)
Round 2) 2 sc in each st around, do not join round (12 sc)
Round 3) *2 sc in next st, sc in next st*, repeat from * to * around, join with a sl st to first st, end off yellow. (18 sc)
Round 4) With flower color, join with a sl st in any st, ch 1, 2 sc in same st, sc in next 2 sts, *2 sc in next st, sc in next 2 sts*, repeat from * to * around. Do not join round. (24 sc)

Round 6) *2 sc in next st, sc in next 4 sts*, repeat from * to * around. Do not join round (36 sc)
Round 7) *sl st in next st, skip next st, 5 dc in next st, sk next st *, repeat from * to * around, ending with a sl st in beg sl st (9 petals) End off, weave in all ends.

 |
| Here is the coaster I completed today :) |
© 2011 Doni Speigle. All rights reserved. This pattern may not be sold, or posted to any website or electronically transmitted, or copied in any way, without the written consent of the copyright owner. Finished items may be made from the pattern and sold at local craft fairs, fundraisers, etc., but please do not sell anywhere online.
Here are my suggestions for the pattern:
1. Use cotton (kitchen) yarn because it's sturdy and comes in a variety of colors.
2. Make the coaster a little bigger by doing Round 6 twice. Otherwise, the coaster is a little on the small side.
3. Mix & match colors, use one solid color, or choose a yarn with multiple colors in it (like I did). There are tons of possibilities :)
HAVE FUN AND SEND PICS OF YOUR FLOWERS!
February 1-2, 2014
Happy Groundhog Day! In celebration of this obscure holiday, I decided to make one of my favorite crafts that is easy and oh so pretty- The Waldorf Star.

I chose bright and sunny colors in hopes that we will have an early spring but any color combination will result in a beautiful star that doubles as a sun catcher :) This is an origami-esque type of craft with a little gluing involved...no big whoop!
Here's What You Need:
1. Kite paper or tissue paper (colors of your choice). I've never tried kite paper but it is the preferred material to use because it's thicker and easier to work with. However, tissue paper works just fine and is probably something you have in your house already.
2. Scissors
3. Glue, glue stick or Modge Podge
4. Foam brush or small paint brush (optional) to spread the glue.
5. Small hole puncher and/or string (for hanging).
Here's how to make it:
 |
| Cut your paper into eight 6" squares (4 of each color or whatever combo you choose). |
 |
| Take one piece of paper and... |

Fold it in half (don't mind the crease that's in the paper shown above).
 |
| Unfold the paper and then fold in two parallel corners to the middle crease you've made. |
 |
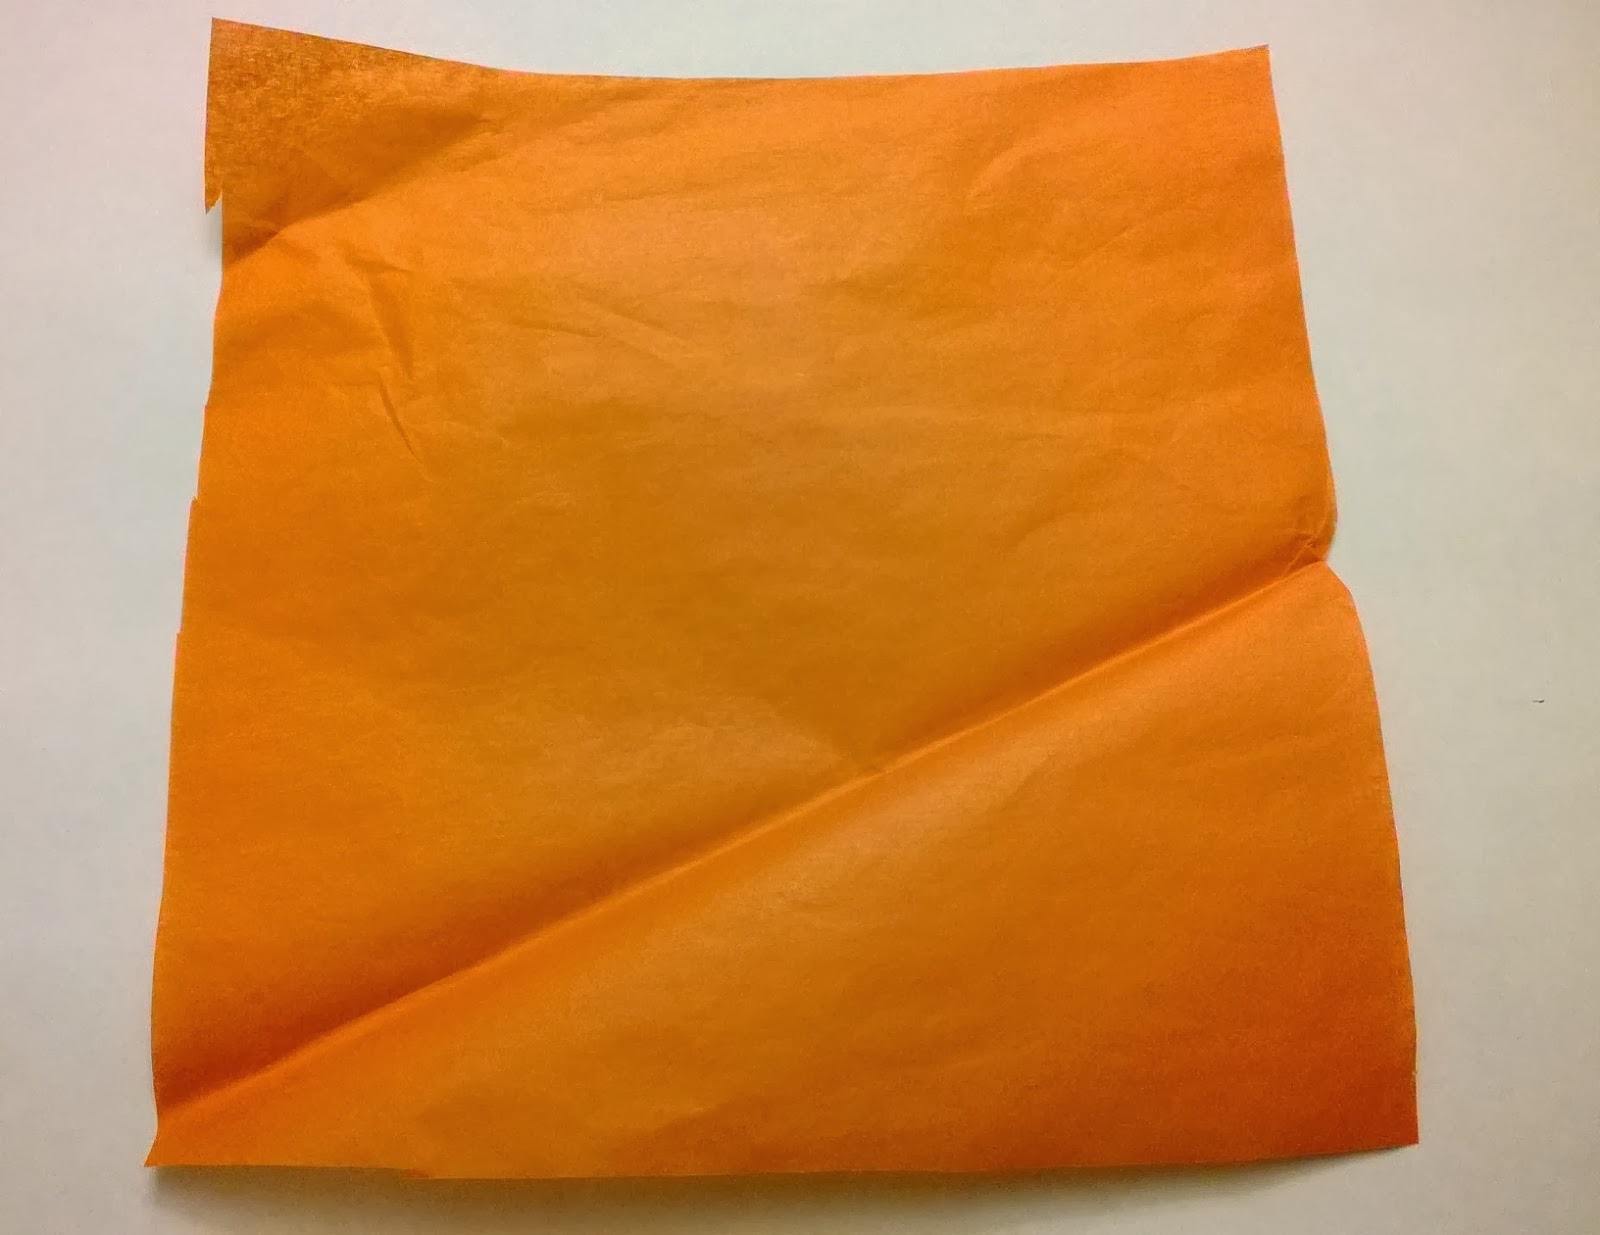
| Then fold each side of this piece to the middle crease again (as if you were making a paper airplane). |

This is what it should look like.

Now, on the opposite end of your airplane, fold the other two corners down to the middle crease.

This will form a diamond shape.

Here's what it looks like turned over.

Once you've made all of your "diamonds" you'll glue them to each other by placing the lower left edge of each diamond against the middle crease of the diamond before it.

Use a few dots of Elmer's glue, a glue stick or some Modge Podge. To avoid seeing the dots of glue, spread the glue out a little with a foam brush or small paint brush.

Keep going all the way around...

Ta-da!
 |
| Punch a small hole at the top of one of the diamonds for hanging in a sunlit window. |
January 31, 2014
It's the last day of January...Hurray! With Valentine's Day right around the corner, I've been inspired to get started on some crafts to celebrate the holiday of LOVE. Today's craft is another simple yet elegant heart decoration that will be sure to delight!
I call it the Origami Double Heart:

I know what you're thinking....Origami? No, thank you! Trust me, these are easy to make in just a few folds :)
Here's what you need:
1. Origami paper- One large piece, one small piece. I used a standard large square (approx. 6") and a standard small square (3") which you can find in any good craft store (e.g., Michaels). The small square should be approximately 1/4 the size of the large square. Choose complimenting colors and/or patterns.

2. A little Elmer's glue or a glue dot to secure the hearts in place when finished.
3. Small hole punch to create a hole for hanging, etc.
4. Ribbon on baker's string for the finishing touches.

How to make it:
1. To make the basic heart:
 |
| Choose a 6" x 6" square |
 |
| Place square with colored side down and fold it in half (corner to corner) both ways. |
 |
| Fold one corner so that the point touches the middle crease. |
 |
| Fold the opposite facing corner all the way to the edge of the paper. |
 |
| Fold the right side of the paper over and up so that the bottom edge touches the center crease. |
 |
| Do the same on the other side. You can now see the heart shape starting to form :) |
 |
| Flip the heart over. |
 |
| Fold the two pointed corners in so that the sides are straight. |
 |
| Fold the top points down to touch the top of the colored portion of the paper. |
 |
| You've just made a heart! |
 |
| Make another heart with the smaller piece of paper and glue to the larger heart. Put a drop of glue on the inside of the heart to hold the two sides of the heart in place. |
 |
| Punch a small hole at the top, if you'd like to add ribbon on string for hanging. |
 |
| I used matching baker's string to make a bow. |

Ta-da!

 |
| I made a few to decorate our dining room hutch :) |
It's fun to mix and match different colors and patterns. These also make great embellishments for a handmade Valentine's Day cards and gift bags!
If you decide to give this craft a try, I'd love to see pics. Just send me an e-mail :)
___________________________________________________________
My first "craft o' the day" to share is VERY simple and right on schedule for Valentine's Day. It's easy to make but still makes you feel all warm & fuzzy ;)
I call it the Scalloped Heart Garland:

As you can see, I've lovingly strewn (is that a word?) the garland over our dining room chandalier :)
Here's what you need:
1. Colored construction paper (I used red, pink, and white).
2. A scalloped heart paper cutter (or any other heart-shaped paper cutter) which you can find at any craft store.
3. Colorful baker's string or ribbon (I used red-striped baker's string).
4. A small hole punch.

How to make it:
1. Punch out equal number of colored hearts (depending on how long you want the garland to be). I made about 6 hearts of each color.
2. Punch small hole in the top middle of each heart.
3. String hearts in whatever pattern you like onto baker's string until you have the length that you need.
4. Leaving ends of string free, hand the garland around or across whatever you want (chandalier, entryway, mantle, etc.). Either tie ends together or afix ends to whereever you are hanging the garland.
That's it! This is a good craft to do with the kiddies :)
No comments:
Post a Comment